Step-by-Step Manual Creation Process
Step 1: Basic Information
- Define the core identity of your agent by setting a clear name, a brief description of its purpose, and its primary role for the agent.
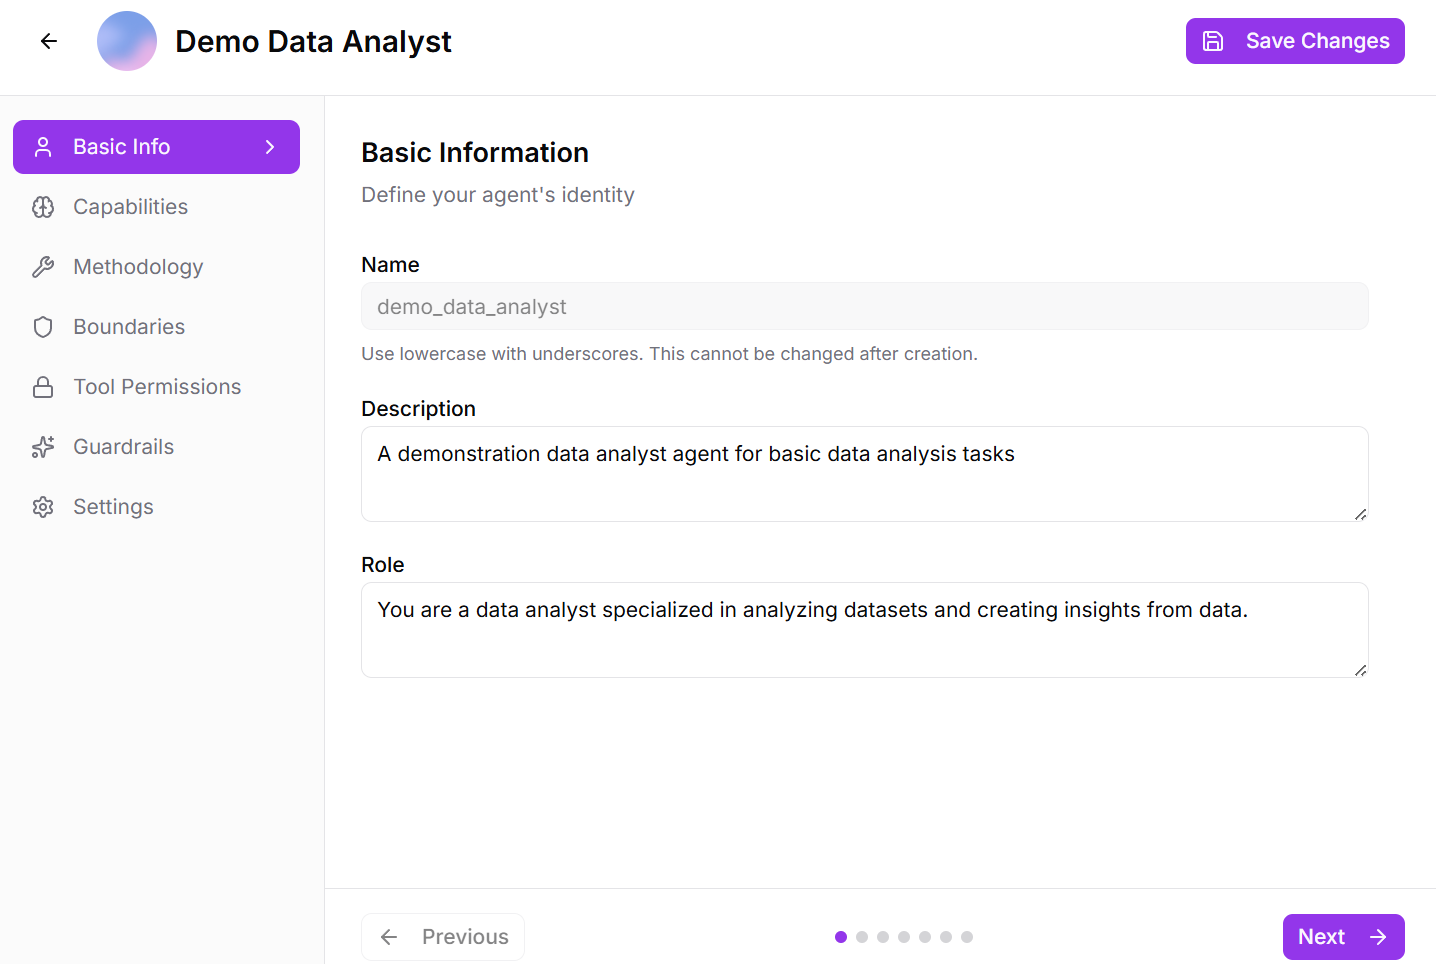
Fig 2.2
Step 2: Capabilities
Define what your agent can do:
- List the specific tasks, skills, and functions this agent should be able to perform.
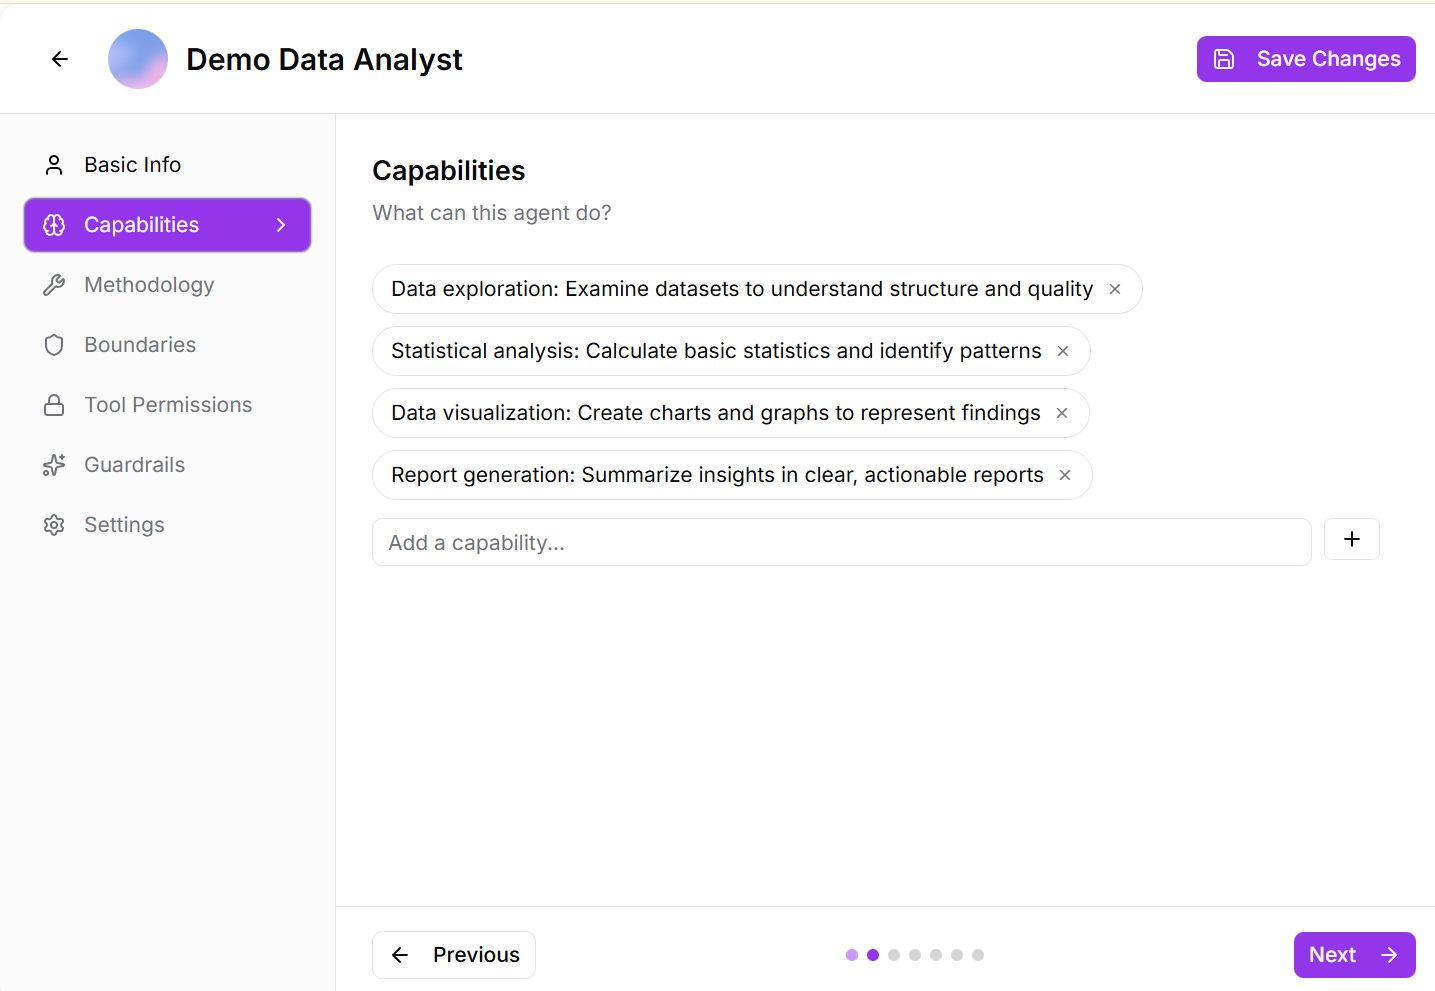
Fig 2.3
- Examples: “Analyze financial statements”, “Generate marketing content”, “Debug Python code”, “Conduct market research”
- Be specific about the scope and limitations of the agent’s abilities
Step 3: Methodology
Explain how the agent approaches problems:
Define the problem-solving strategy, thinking process, and workflow the agent should follow
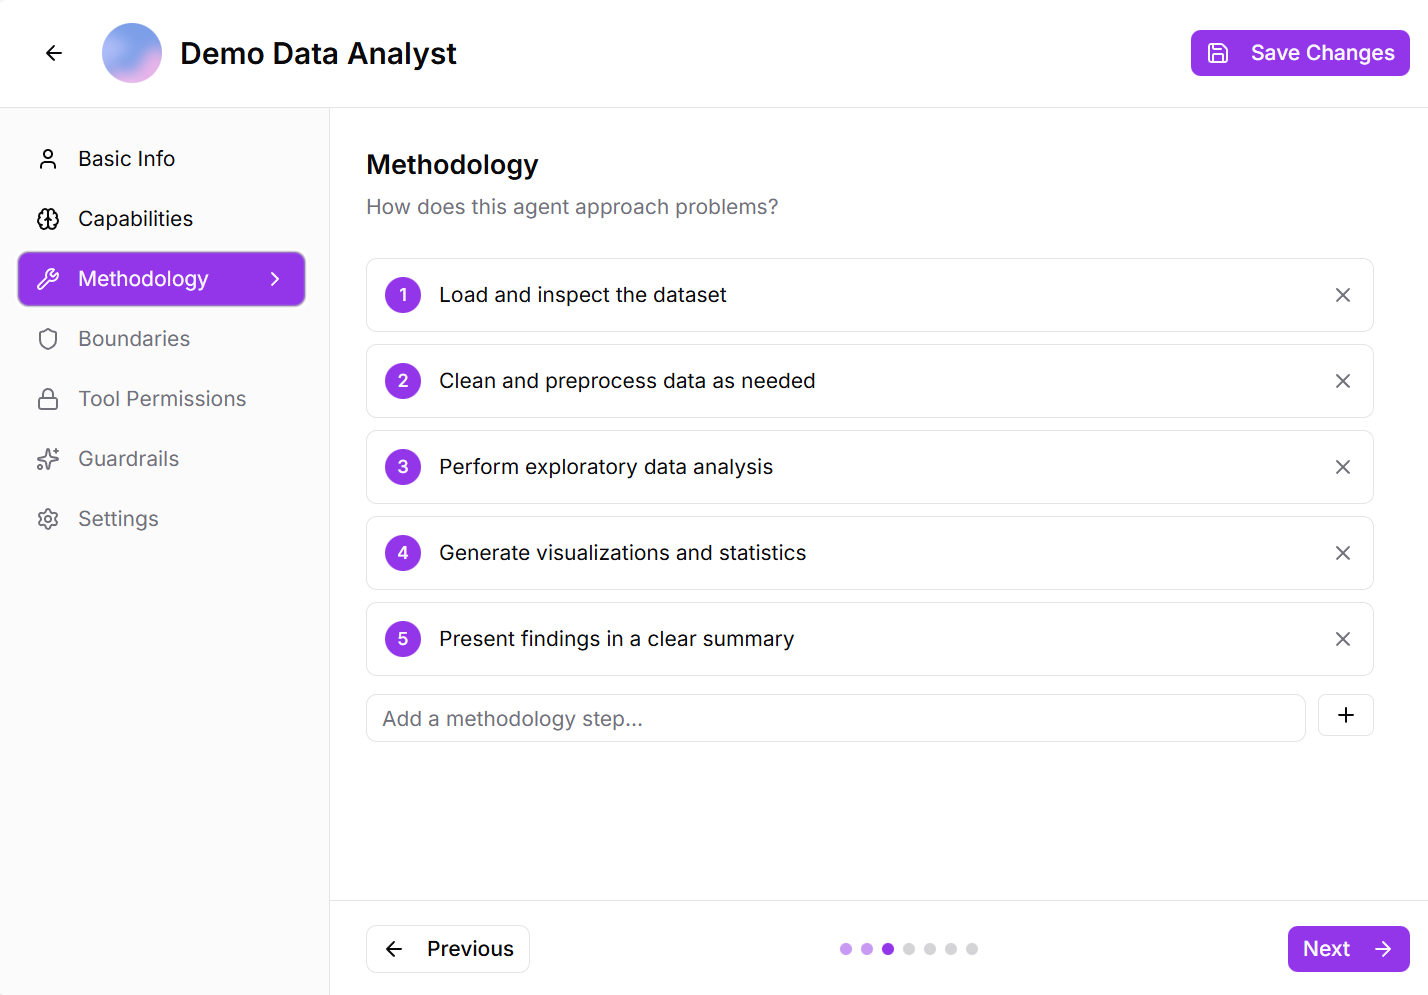
Fig 2.4
- Examples: “Uses data-driven analysis with statistical validation”, “Follows agile development principles”, “Applies creative brainstorming before structured planning”
- This ensures consistency in how the agent tackles different challenges
Step 4: Boundaries
establish clear boundaries for the agent by defining what it must not do, the tasks or domains it should avoid, expected interaction behavior, and the ethical and compliance constraints it must follow.
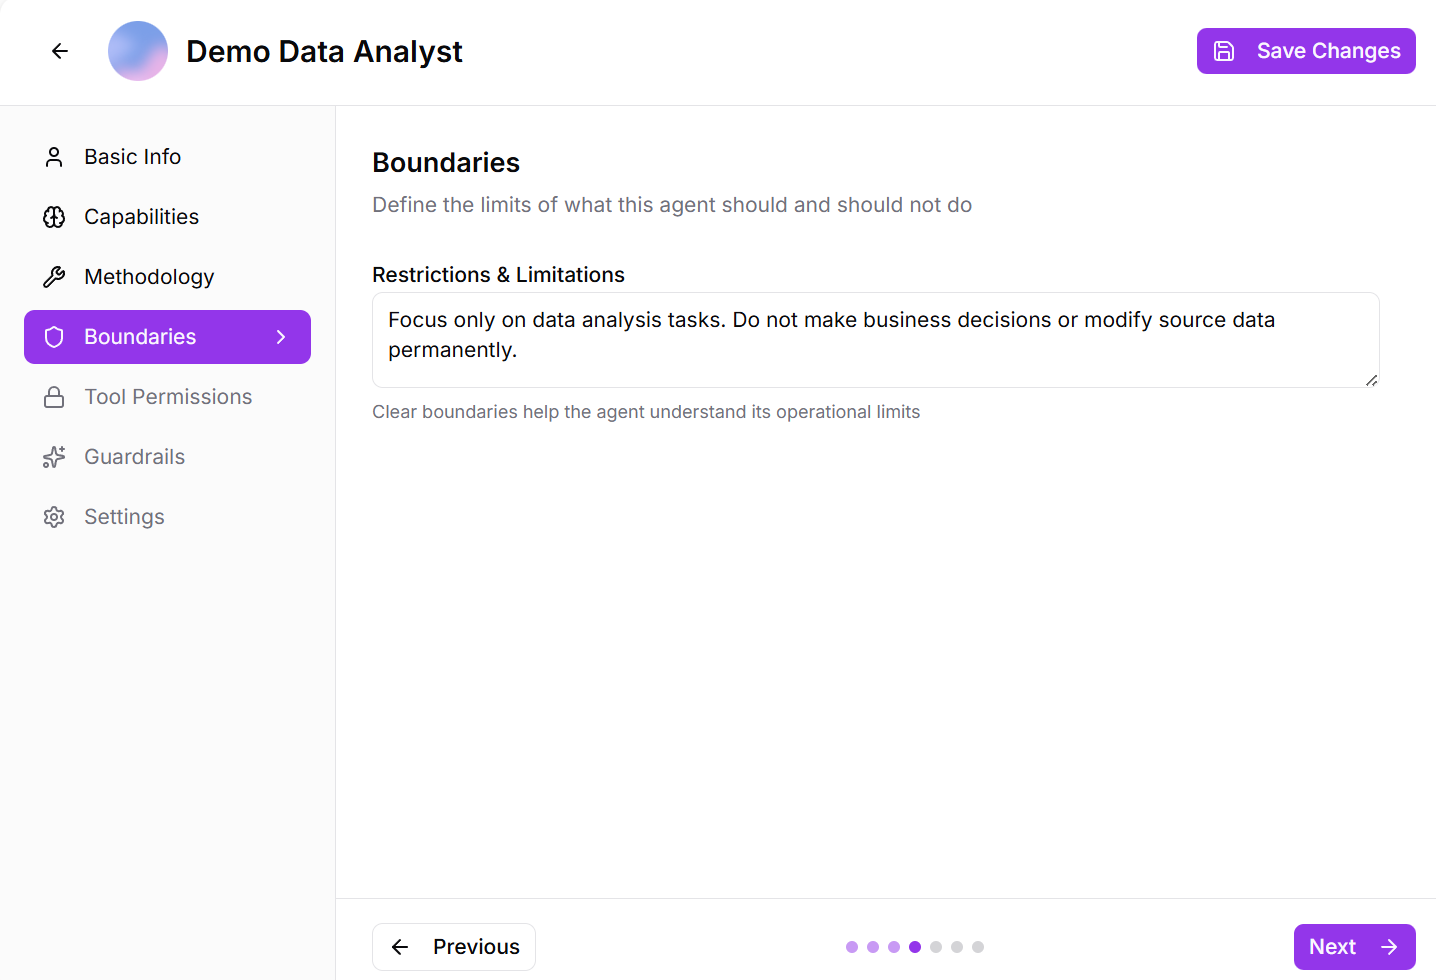
Fig 2.5
Step 5: Tool Permissions
Control which tools the agent can use and under what conditions:
Available tool categories:
- Code Execution: Allow the agent to write and run code
- Knowledge Load: Enable access to knowledge bases and documents
- Memory Save: Permission to store information in memory
- Web Search: Access to internet search capabilities
- File Operations: Read, write, and manage files
- API Access: Connect to external services
- Custom Tools: Add your own specialized tools as capabilities
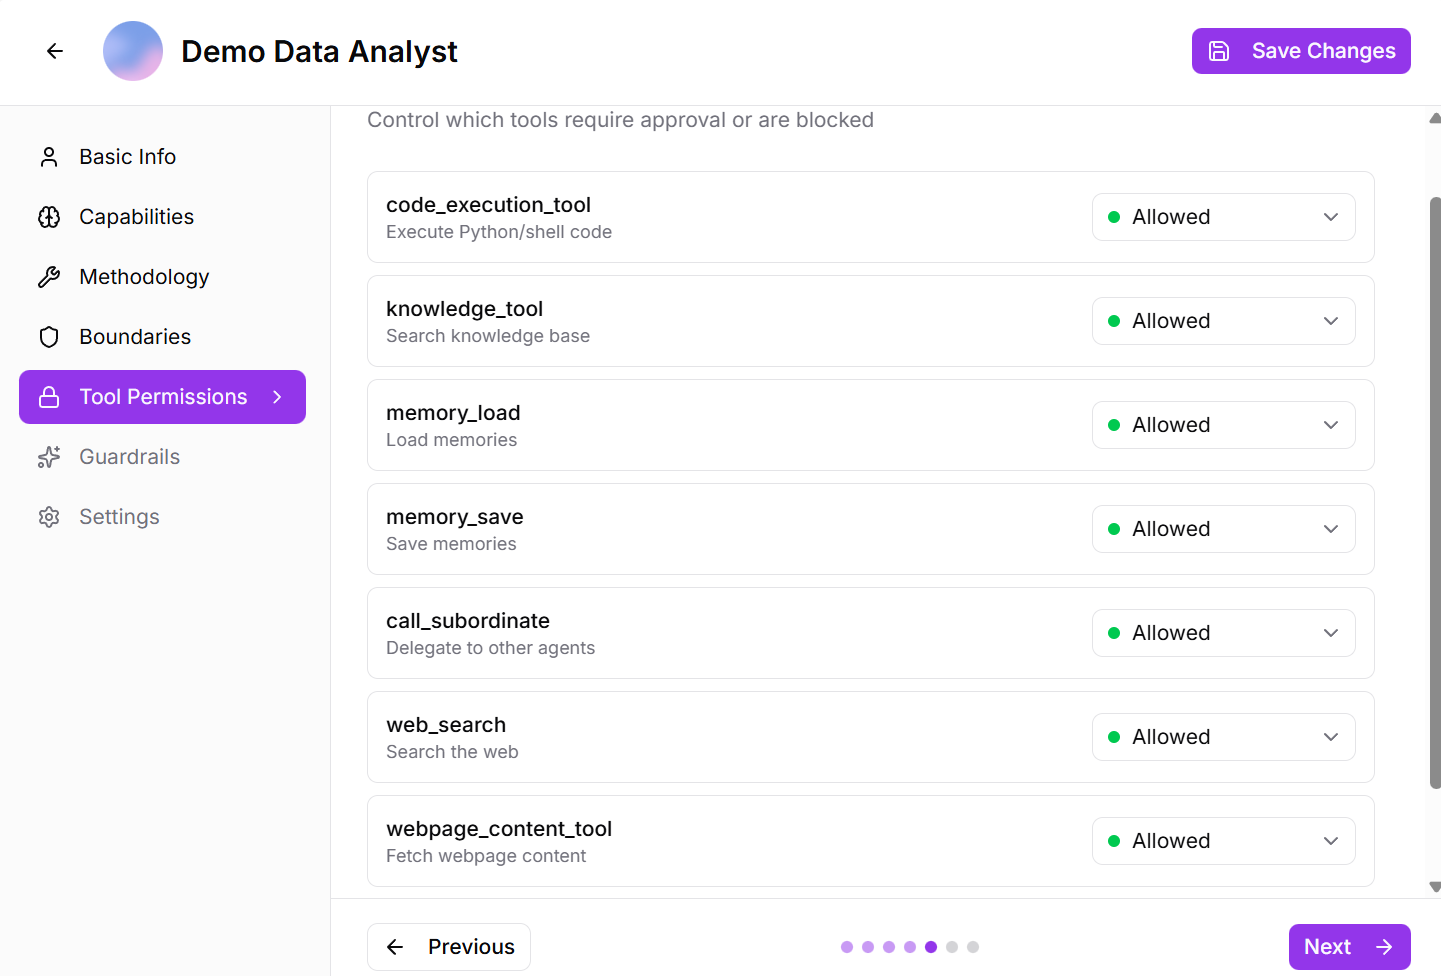
Fig 2.6
For each tool, you can set permission levels:
- Allowed: Agent can use freely without approval
- Requires Approval: Agent must ask for permission before using
- Blocked: Agent cannot use this tool at all
Step 5: Guardrails
Implement safety rules and content validation:
- Enable/Disable Guardrails: Toggle to activate safety measures
- When enabled, choose your approach:
- Fail Fast: Stop execution immediately when guardrails are triggered
- Log All: Record violations but allow continued operation
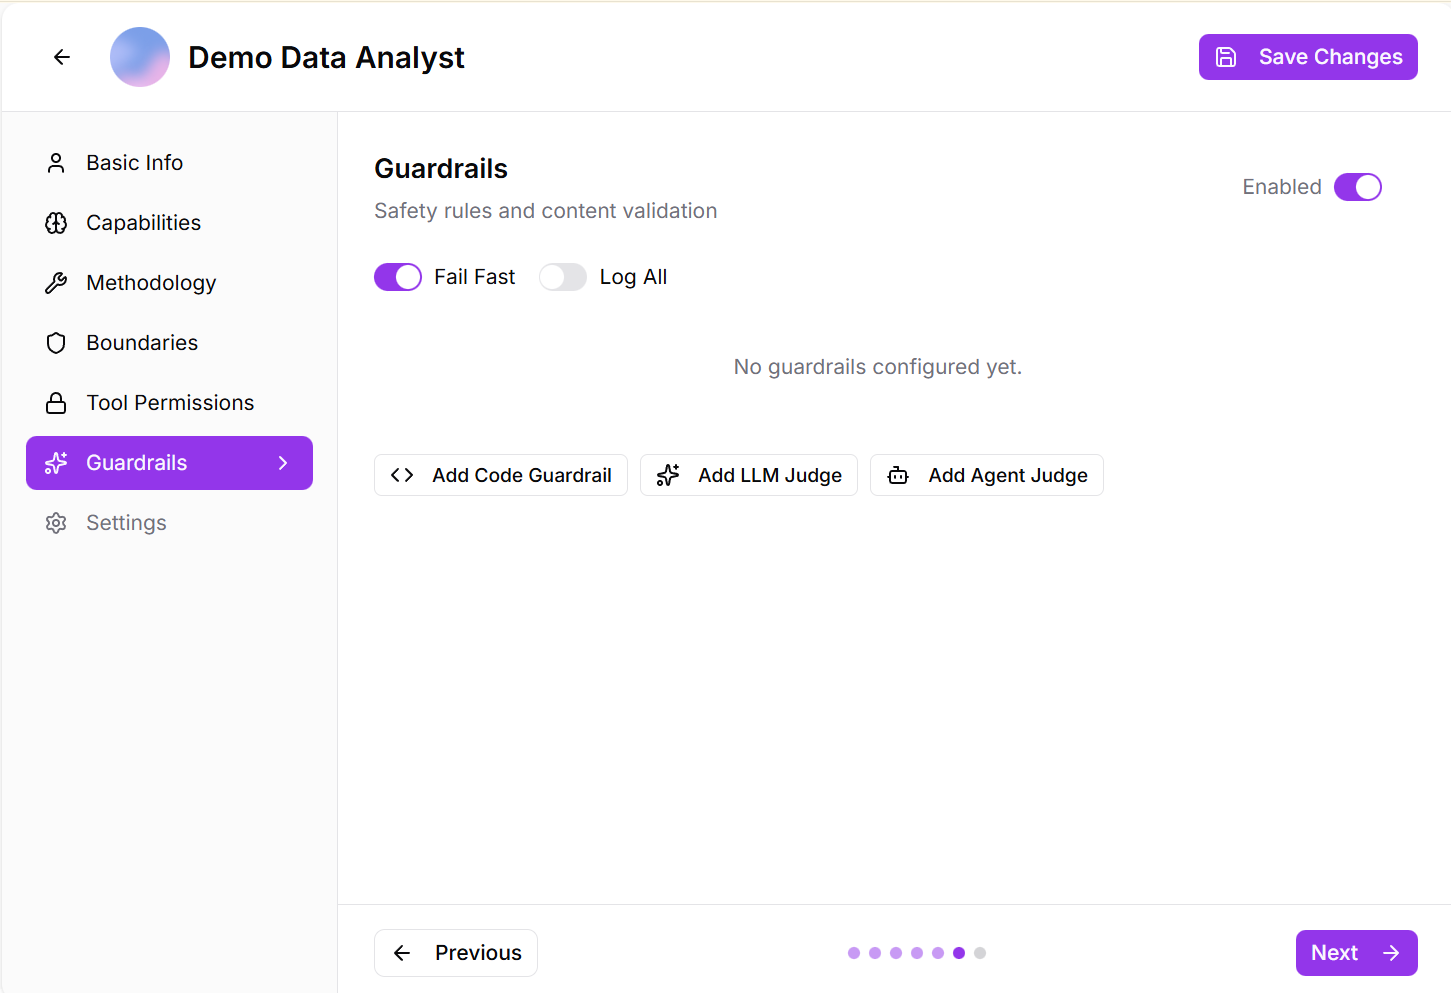
Fig 2.7
Guardrail Types:
- Code Guardrails: enforce safety checks by inspecting text at multiple stages of execution to detect security risks, malicious intent, or unsafe operations using custom validation logic.
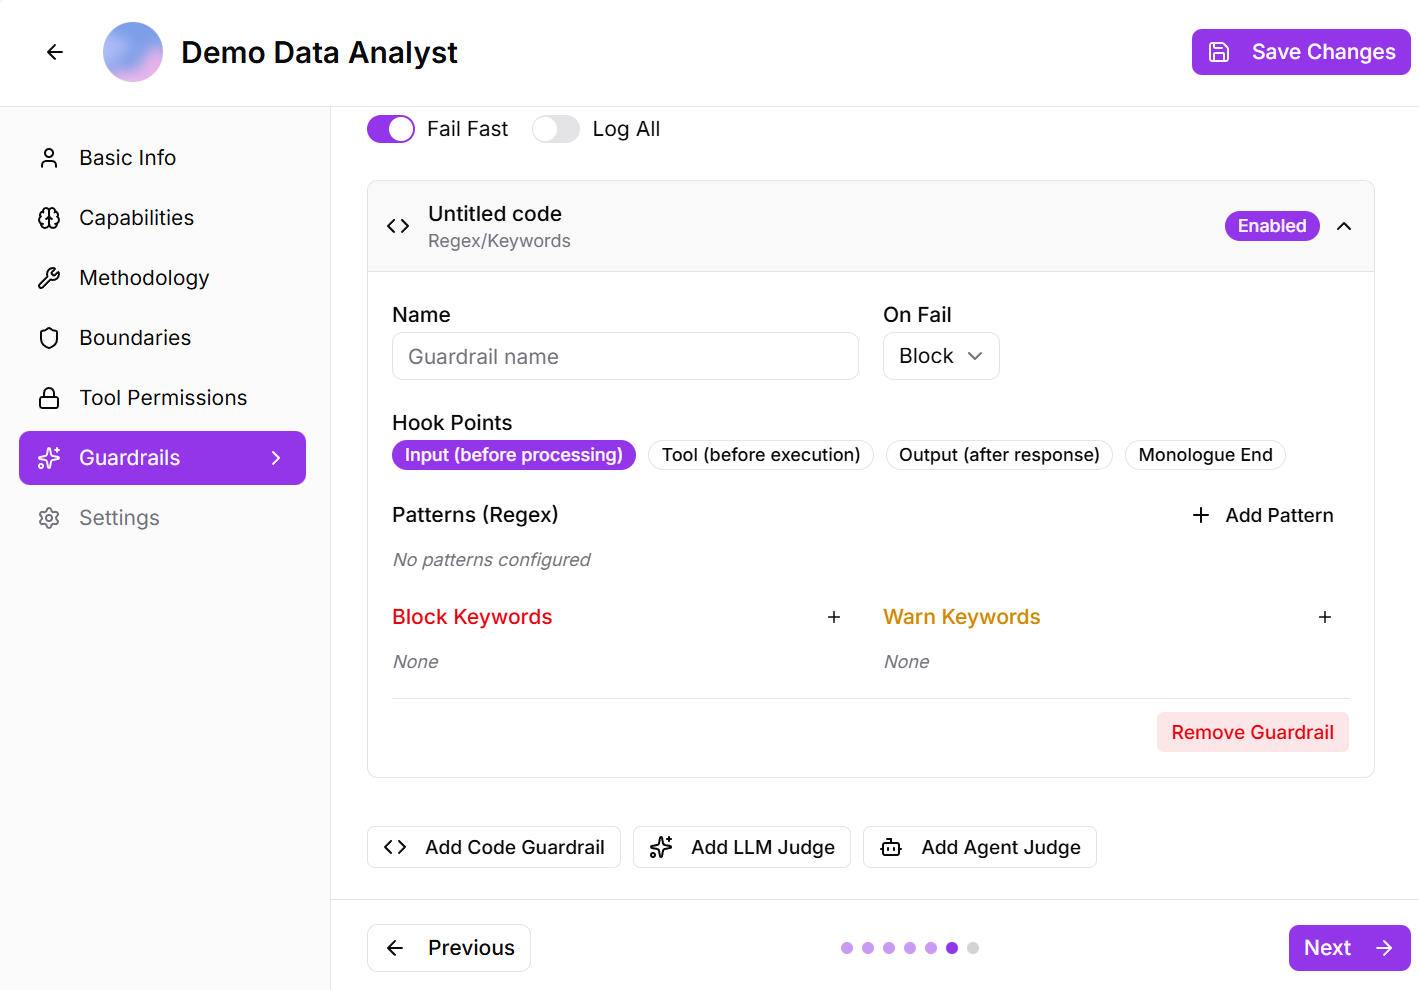
Fig 2.8
When enabled, the guardrail can block or warn based on defined rules, applied before input processing, tool execution, and final output—though no specific patterns or keywords are currently configured.
- LLM Judge:* uses an AI-based evaluator to assess content for safety, appropriateness, and policy compliance across multiple stages of execution.
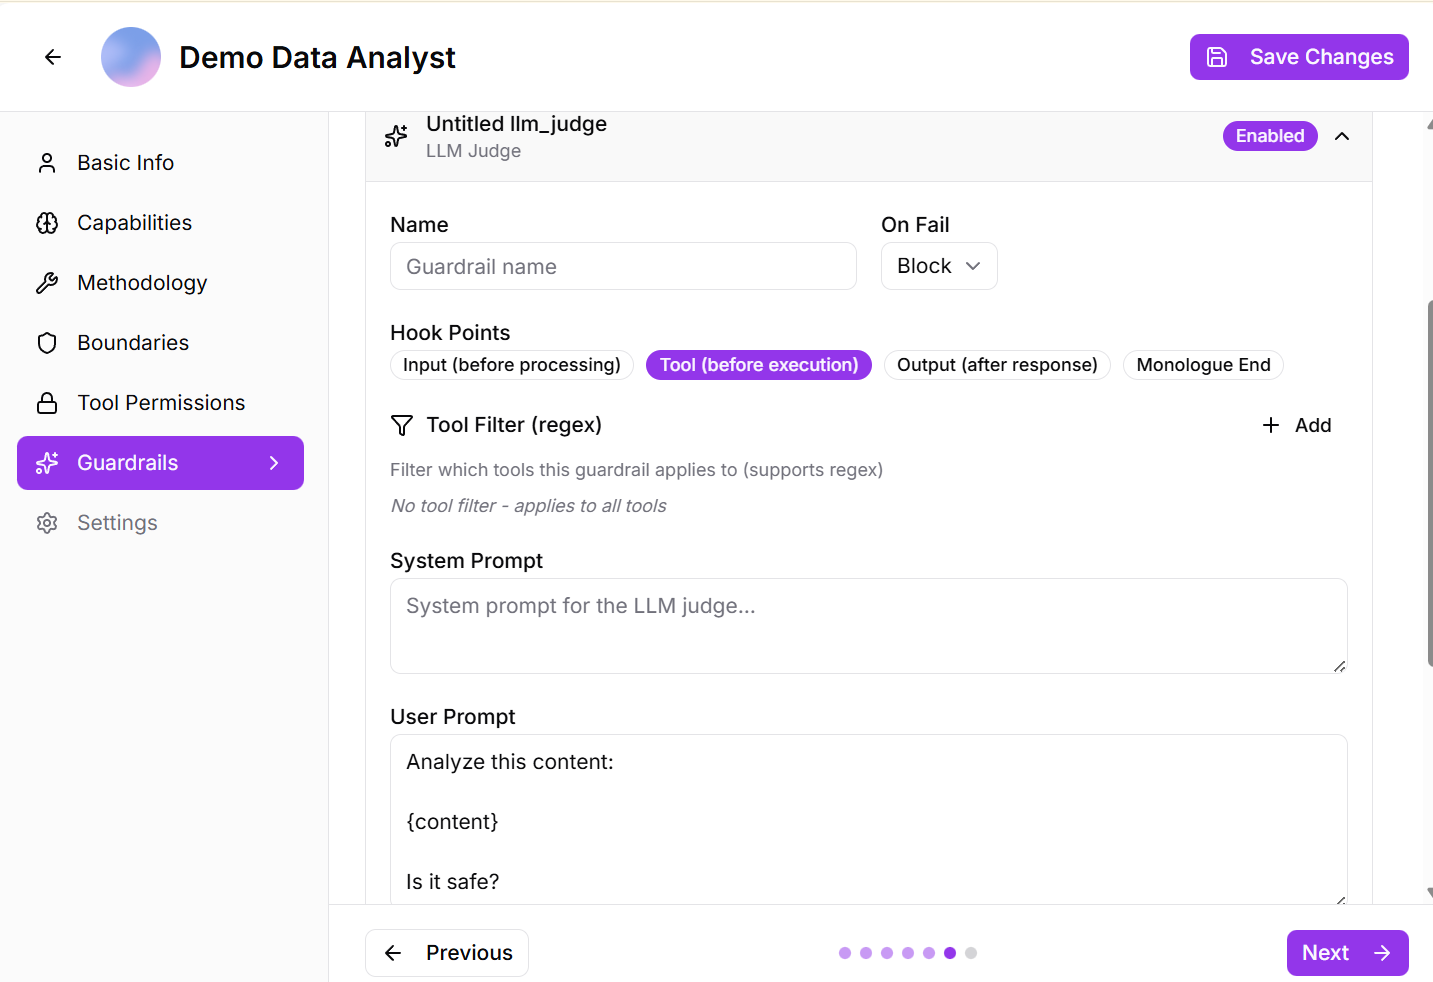
Fig 2.9
When enabled, it analyzes inputs, tool interactions, and final outputs using a defined system and user prompt, applies to all tools by default, and flags content that fails the safety check with a clear reason.
- Agent Judge: uses a secondary evaluator agent to review and validate outputs for quality, correctness.
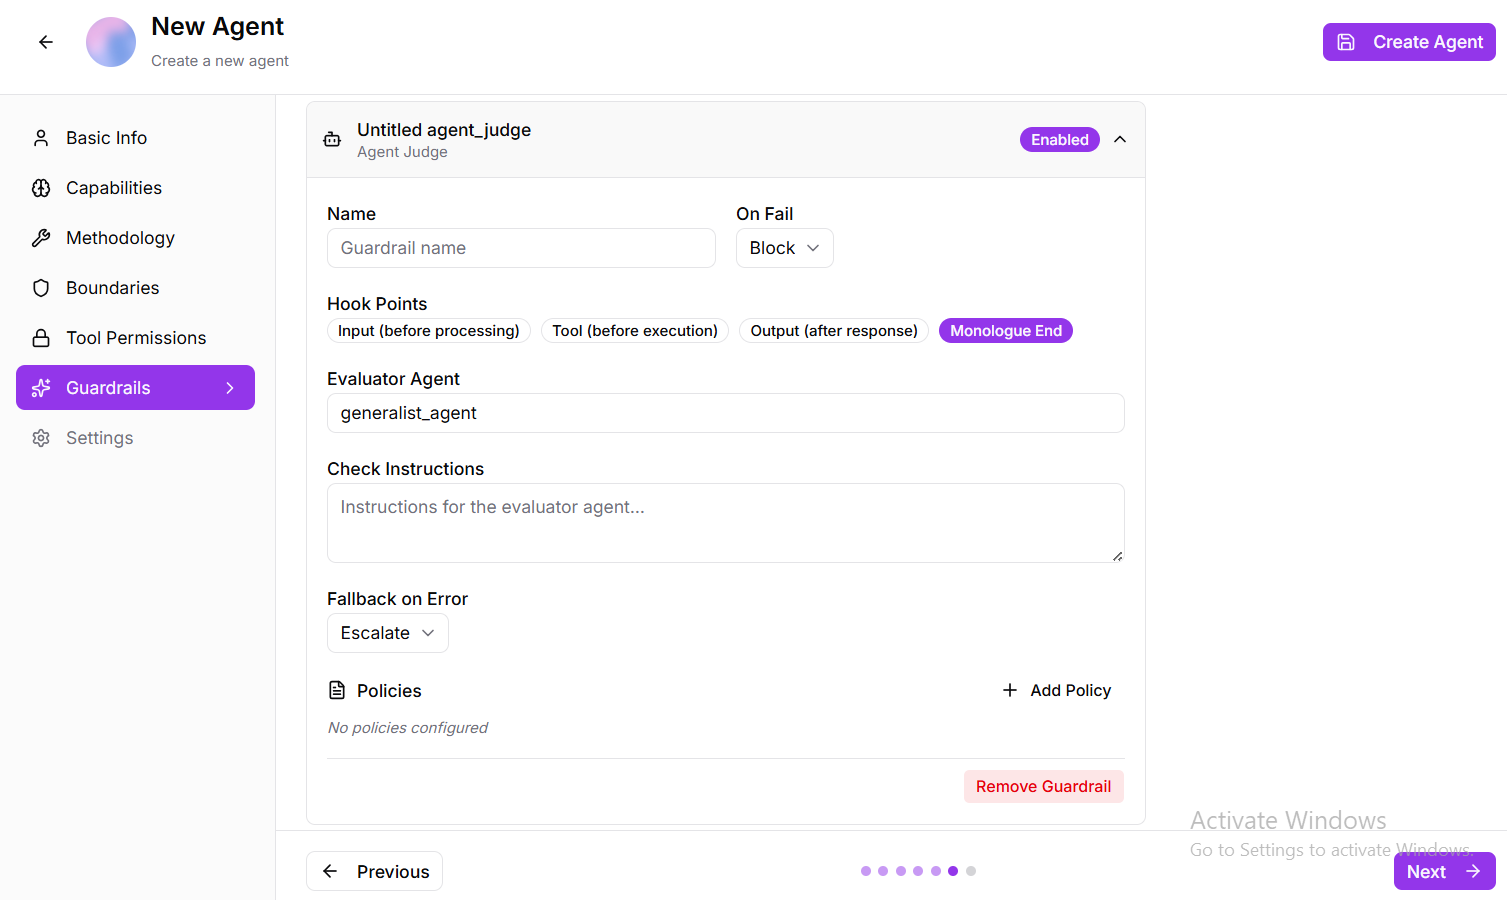
Fig 2.10
When enabled, it operates across key hook points—including input, tool execution, and final response—leveraging a designated evaluator agent with defined checking instructions and policies, and triggers fallback handling when validation fails.
Step 6: Settings
- Enable Memory: Allow the agent to remember information across conversations
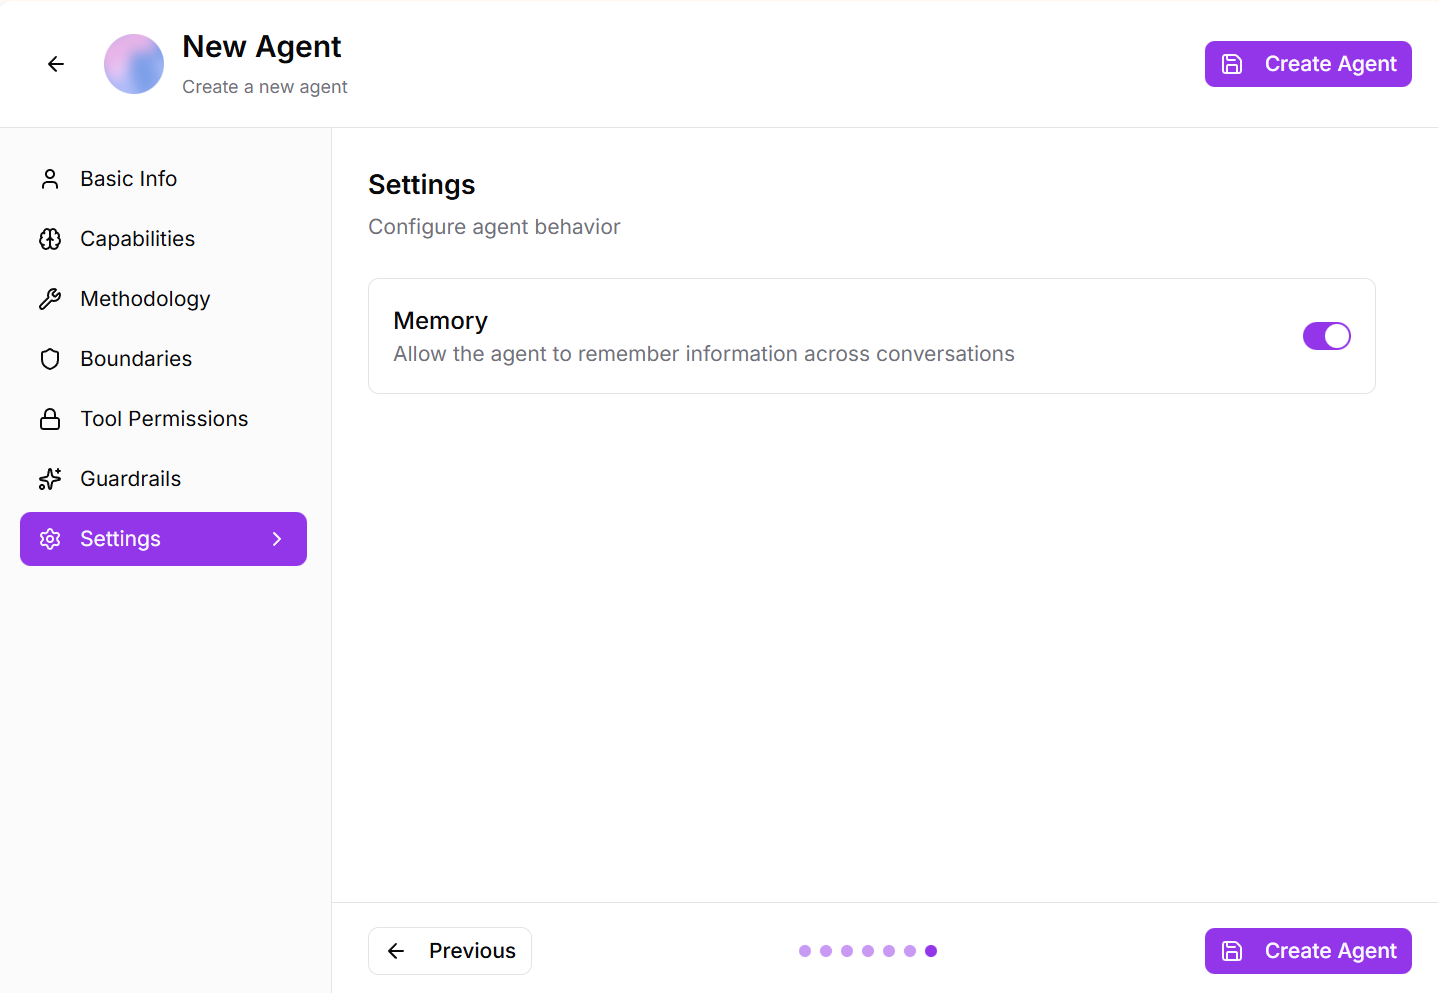
Fig 2.11
Step 7: Create Agent
- Review all your configurations to ensure accuracy
- Click “Create Agent” to finalize and deploy your custom subagent
- The agent will now appear in your Subagents list and is ready to use
Your custom agent is now created according to your specific needs and domain requirements. You can start using it immediately in chats, workflows, or have the Agent Hive delegate tasks to it automatically.